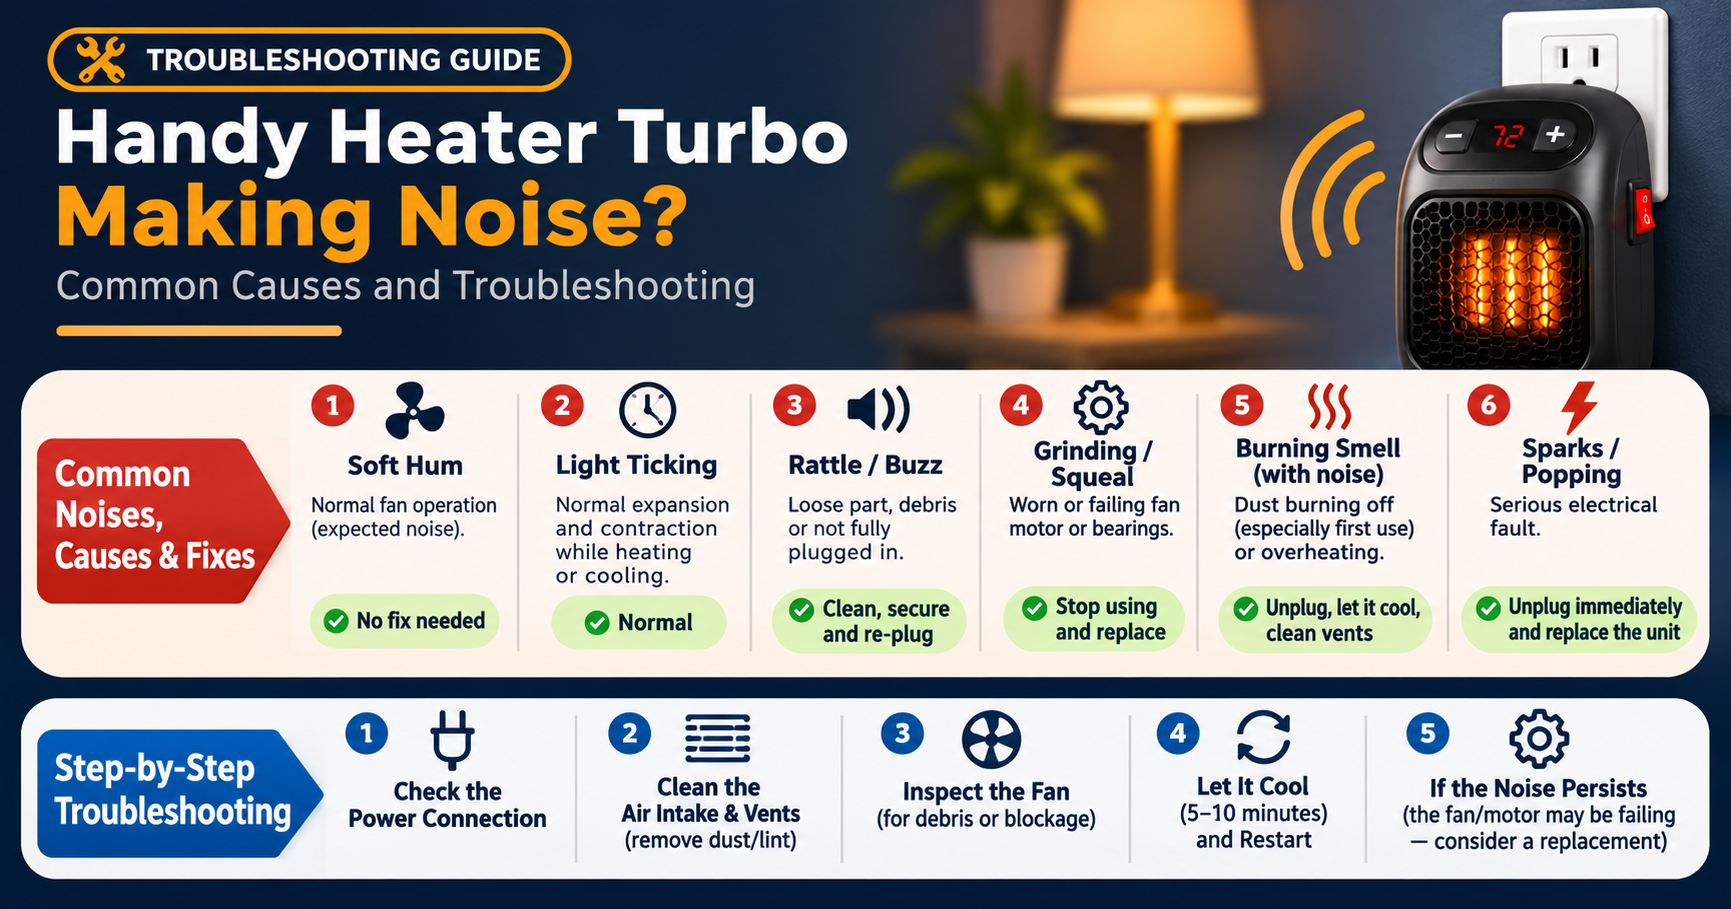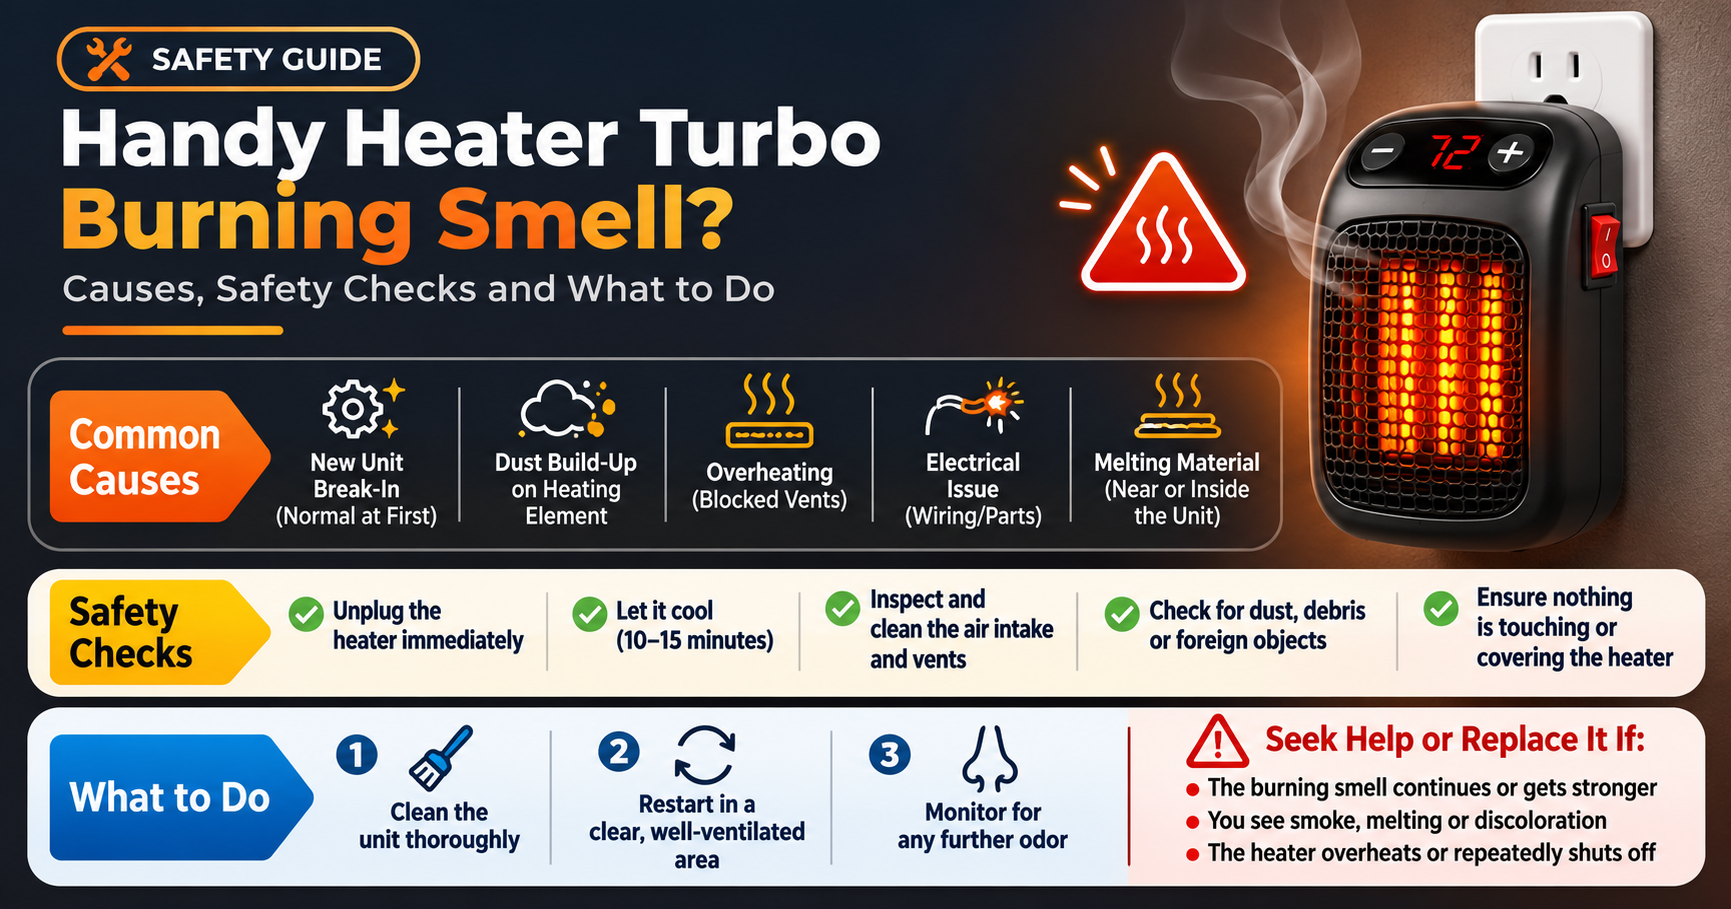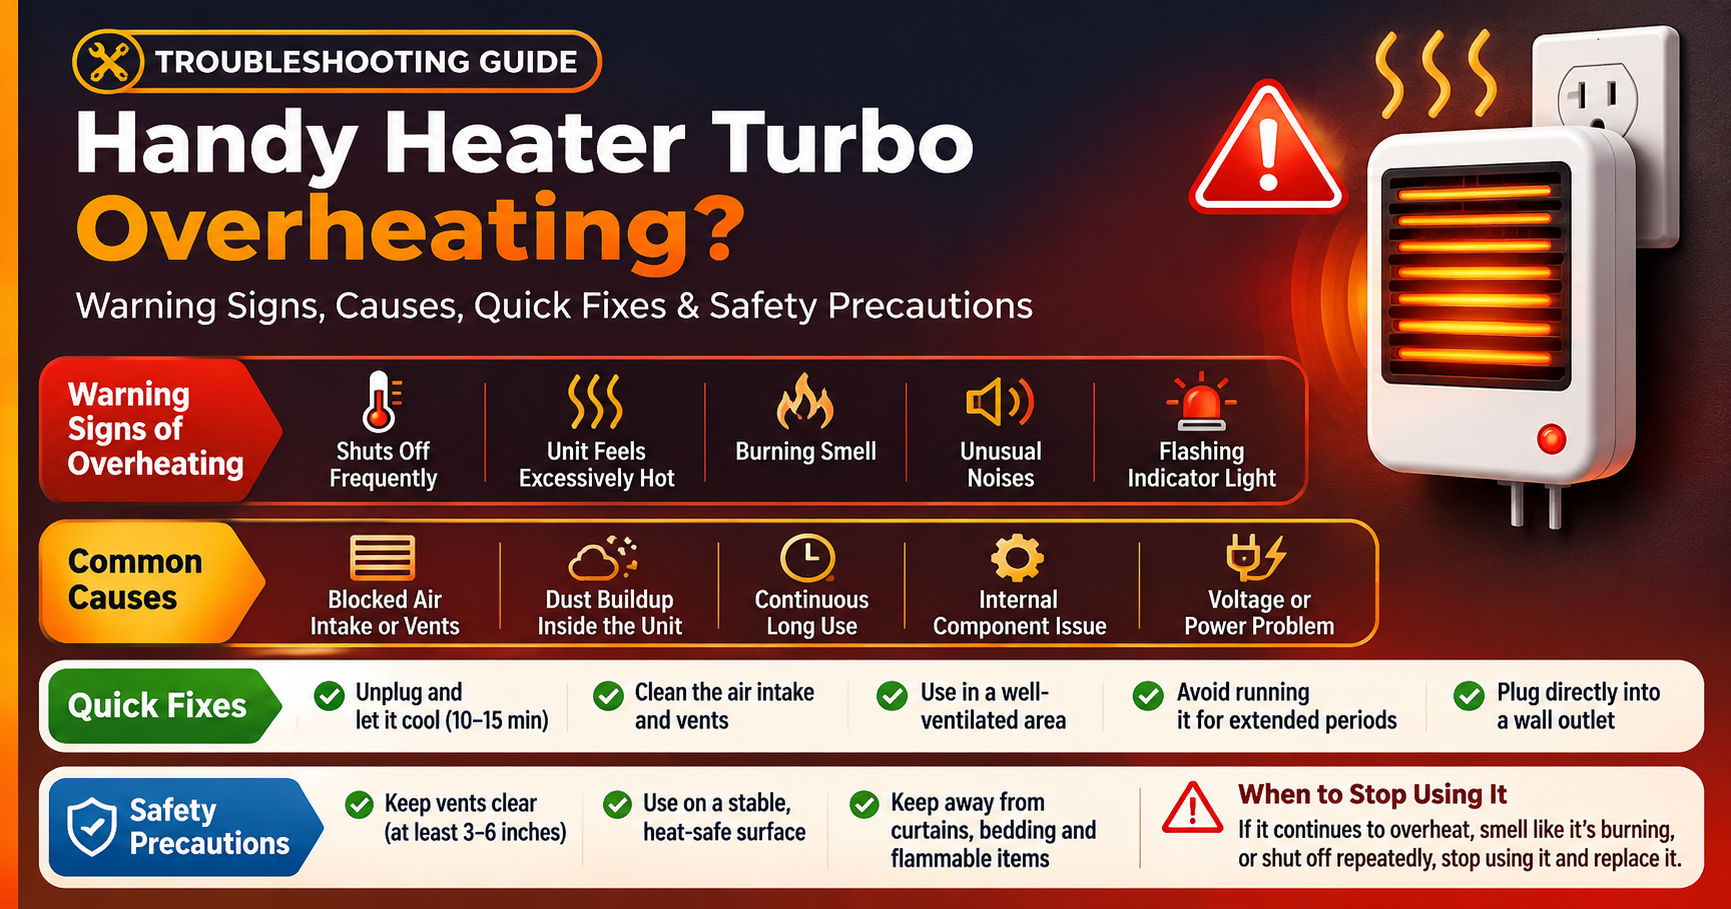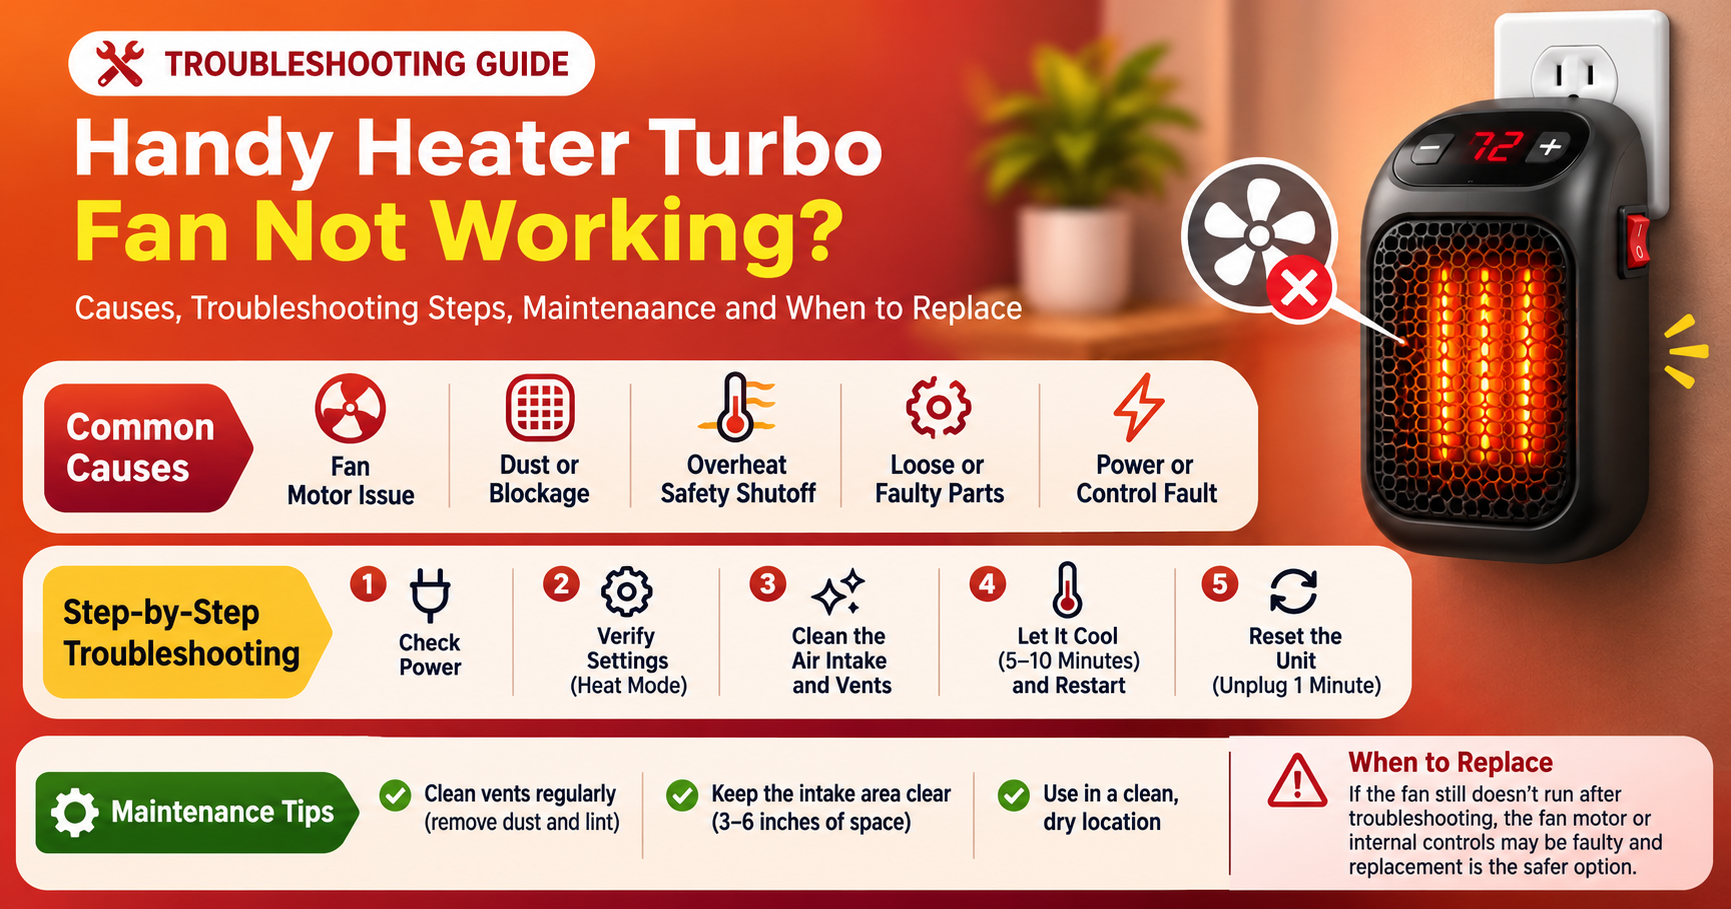




A portable electric heater is one of the most useful appliances you can own during cold months. It warms a room fast, it is easy to move, and it costs far less than heating a whole house. But there is one thing most owners forget: a portable heater needs regular cleaning. Dust, pet hair, and lint build up quietly inside the grille and around the heating element. Over time, that buildup makes the heater work harder, gives off a burning smell, and can even become a fire risk.
The good news is that learning how to clean a portable electric heater is simple. You do not need special tools or technical skills. With a vacuum, a soft cloth, and about 20 minutes, you can restore your heater to peak performance. This complete guide walks you through every step, explains the differences between heater types, and shows you how often to clean so your heater stays safe and efficient all season.
Why Cleaning Your Portable Heater Matters
Before the steps, it helps to understand why this task deserves a place on your home maintenance list.
- Fire safety: Dust and lint that touch a hot heating element can smolder or ignite. Fire safety organizations consistently list dirty or poorly maintained heating equipment among the avoidable causes of home heating fires.
- Better heating performance: Clogged vents block airflow. A blocked fan heater has to run longer to warm the same space, which wastes electricity.
- Cleaner indoor air: When a dusty heater runs, it can circulate dust, pet dander, and allergens around your room. Clean heaters keep the air fresher.
- No more burning smell: That familiar “burning dust” odor is simply old dust cooking on the element. Cleaning removes the cause.
- Longer lifespan: Overheating from poor airflow stresses internal parts. A well-kept heater lasts more seasons.
Know What You Are Cleaning: Main Parts of a Portable Heater
Most portable electric heaters share the same basic parts. Knowing where they are makes cleaning faster and safer.

The air intake grille and vents collect the most dust. The heating element sits behind the grille and should only ever be cleaned dry. The controls and body can be wiped with a barely damp cloth. Many heaters also have a tip-over switch underneath that shuts the unit off if it falls, so keep the base free of debris.
Safety First: Before You Start Cleaning
Important safety rules
Never clean a heater while it is plugged in or warm. Never spray water or cleaning liquid directly onto the heater. Never submerge any part of the heater in water.
- Unplug the heater from the wall socket. Do not just switch it off.
- Let it cool completely. Wait at least 30 minutes after use. The grille and element can stay hot longer than you expect.
- Read the manual. Some models have removable filters or panels, while others should never be opened by the owner. The manual tells you what is safe for your exact model.
- Work on a flat, dry surface in a well-lit space, ideally near a window or on a towel to catch dust.
- Do not open sealed parts. If a screw cover is marked or the warranty warns against opening, stick to cleaning from the outside.
Tools and Supplies You Will Need
You probably already own everything required. Gather these items before you begin.

- Vacuum cleaner with a brush or crevice attachment to lift loose dust without scratching.
- Microfiber cloths (one slightly damp, one dry) for the body and controls.
- Soft-bristle brush such as a clean paintbrush or small dusting brush for the grille slats.
- Compressed air can (optional) to blow dust out of tight corners.
- Mild dish soap and warm water for sticky marks on the casing.
- Cotton swabs to reach between slats and around dials.
Skip harsh chemicals, bleach, abrasive powders, and strong solvents. They can damage plastic, fade paint, and leave residue that smells when the heater warms up.
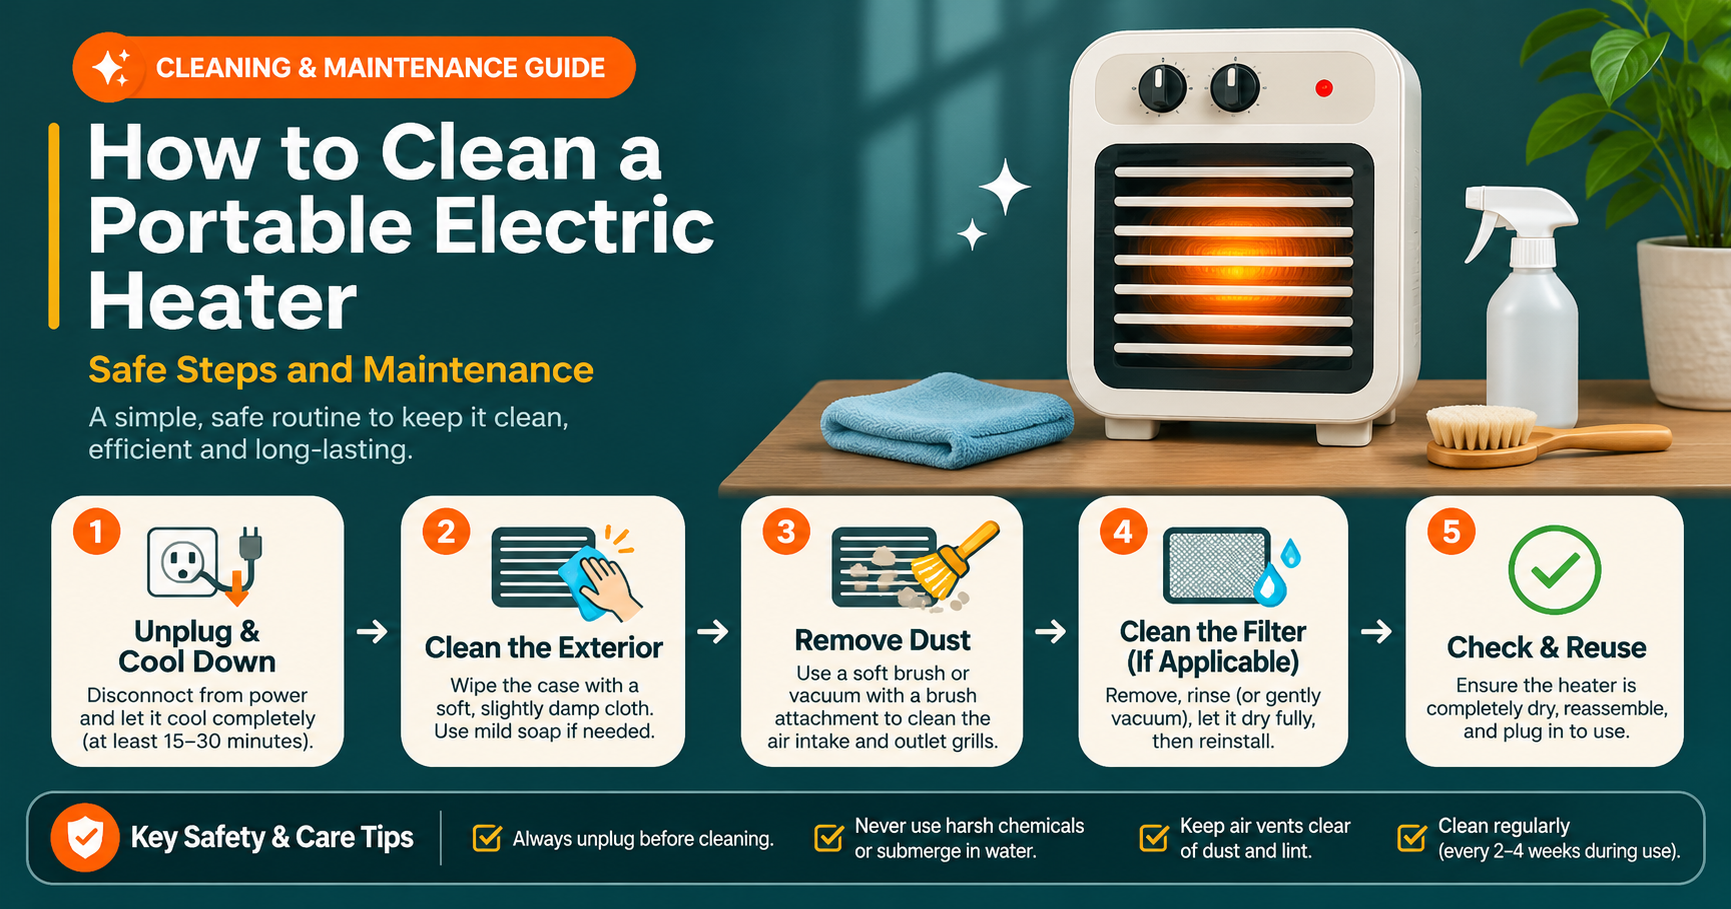
How to Clean a Portable Electric Heater: Step-by-Step
Follow this simple six-step routine for a safe and thorough clean.

Step 1: Unplug and Cool Down
Disconnect the power cord from the wall and move the heater to your cleaning area. Give it at least 30 minutes to cool. Use this time to gather your supplies.
Step 2: Inspect the Heater
Look over the entire unit before you clean. Check the power cord for cracks, fraying, or exposed wire. Look at the plug for dark marks, discoloration, or bent pins. Check the casing for cracks and look through the grille for visible dust clumps. If you see damaged wiring or melted plastic, do not use the heater again and have it checked or replaced.
Step 3: Vacuum the Grille and Vents
Attach the brush or crevice tool and gently vacuum the front grille, rear intake, and side vents. Move slowly in the direction of the slats. This step removes most of the loose dust, hair, and lint. Do not press hard on the grille, because the slats can bend and may touch the element behind them.
Step 4: Brush and Blow Out Tight Spots
Use the soft brush or a cotton swab to loosen dust that the vacuum could not reach. For fan heaters and ceramic heaters, short bursts of compressed air can push lint out from between slats. Hold the can upright, keep a few inches of distance, and avoid pointing it straight at the fan blades, since spinning them by force can damage the motor. Vacuum again afterward to catch the dust that came loose.
Step 5: Wipe the Body and Controls
Dampen a microfiber cloth with warm water and a tiny drop of mild dish soap, then wring it out until it is only slightly moist. Wipe the outer casing, handle, dials, and feet. Use a cotton swab for dial edges. Always wring the cloth well, because liquid dripping into the vents can reach electrical parts. Follow with a dry cloth to remove moisture and soap residue.
Step 6: Dry Completely and Test
Leave the heater to air dry for at least 30 minutes, or longer if the room is humid. Every part should feel completely dry before you plug it in. Place the heater on a flat, hard surface, plug it straight into a wall outlet, and run it on the lowest setting for a few minutes. A faint warm-dust smell for a minute or two can be normal after cleaning. A strong burning smell, smoke, or strange noises mean you should unplug it immediately.
Pro tip
Clean your heater in warm daylight near an open window. The light helps you spot dust that hides deep between the slats, and fresh air carries away any dust you stir up.
How to Clean Different Types of Portable Electric Heaters
The basic steps are the same for every heater, but each type has small differences you should know about.
| Heater Type | Where Dust Collects | Cleaning Notes |
|---|---|---|
| Ceramic fan heater | Rear intake, front grille, fan area | Vacuum both sides. Use compressed air in short bursts. Many models have a removable rear filter you can wash and dry. |
| Oil-filled radiator | Fins and top surface | Wipe the fins with a damp cloth or a long soft brush. Never open the sealed oil chamber. Dry fully before use. |
| Infrared or quartz heater | Front reflector and tubes | Wipe only when completely cool and use a dry or barely damp cloth. Avoid touching quartz tubes with bare fingers. |
| Convection panel heater | Top and bottom vents | Vacuum the vents and wipe the flat panel. Keep the lower intake free of carpet fibers. |
| Mini or personal heater | Small grille and base | Use a cotton swab and a small brush. Do not use water near the vent openings. |
Cleaning a Removable Heater Filter
Some heaters include a washable air filter at the back. If yours does, check the manual and follow these simple steps: remove the filter, rinse it under lukewarm water, shake off excess water, and let it air dry completely. Never put a damp filter back into the heater. Replace it if it is torn or if the manual says it cannot be washed.
Cleaning an Oil-Filled Radiator Heater
Oil-filled heaters are sealed units, so they never need an oil change or refill. Cleaning is simple: wipe each fin with a slightly damp cloth, then dry. A long, flat duster or a clean sock over a ruler can reach between the fins. Check for oil leaks around the base. If you ever see oil seeping out, stop using the heater and contact the manufacturer.
Common Mistakes to Avoid
- Cleaning while plugged in or still warm. This is the single biggest safety risk.
- Using too much water. Moisture inside the heater can damage electronics and cause a short circuit.
- Using sprays and aerosol cleaners. Some contain flammable ingredients and can leave a residue that burns when heated.
- Poking sharp objects through the grille. Pins, knives, or screwdrivers can scratch parts or touch live components.
- Touching the heating element with a wet cloth. Use only dry tools on the element area.
- Using the heater before it is dry. Always allow generous drying time.
- Ignoring the cord and plug. A warm or discolored plug is a warning sign that deserves attention right away.
How Often Should You Clean a Portable Electric Heater?
A regular schedule keeps dust from building up to dangerous levels. The right frequency depends on how much you use the heater and whether you have pets or carpets.

| When | What to Do |
|---|---|
| Every 1 to 2 weeks during use | Quick vacuum or dusting of the grille and vents. Do this weekly if you have pets. |
| Once a month during use | Wipe the body and controls and inspect the cord and plug. |
| Start of heating season | Full cleaning routine. Test the heater on low and listen for odd noises. |
| End of heating season | Full clean, complete drying, then storage. |
How to Get Rid of the Burning Dust Smell
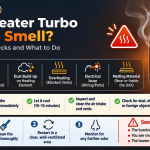
The first time you switch on a heater after months in storage, you may notice a toasty, dusty smell. This happens when settled dust warms up on the heating element. In most cases it fades within a few minutes.
- Unplug and let the heater cool, then vacuum the grille and vents thoroughly.
- Run the heater on low in a ventilated room, such as one with an open window, for 10 to 15 minutes.
- Stay nearby and watch it during this first run.
If the smell is sharp, like burning plastic or electrical, or if you see smoke, unplug the heater straight away. Do not use it again until a qualified technician has inspected it.
Storing Your Portable Heater After the Season
Good storage keeps your clean heater clean until next winter.
- Clean and dry the heater completely before packing it away.
- Wrap the power cord loosely and tie it without sharp bends, so the wires inside are not damaged.
- Cover the heater with a cloth bag, cardboard box, or its original packaging to keep dust out.
- Store it upright in a cool, dry place, away from damp basements and garages that get humid.
- Place a note on the box reminding you to inspect the heater before first use next season.
When to Repair or Replace Your Heater
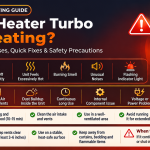
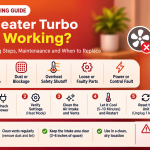
Cleaning solves dust problems, but it cannot fix damaged parts. Stop using your heater and consider repair or replacement if you notice any of these signs:
- The power cord is frayed, cracked, or feels hot while in use.
- The plug is discolored, melted, or loose in the socket.
- The heater trips the circuit breaker or blows fuses.
- You see sparks, smoke, or flickering.
- The heater makes grinding or rattling sounds from the fan.
- The casing is cracked, warped, or melted.
- It does not shut off when tipped over (the safety switch may be faulty).
- It is very old and lacks modern safety features such as overheat protection and tip-over shutoff.
Modern heaters include helpful safety features, so replacing an old unit can be a worthwhile investment in your home’s safety.
Extra Tips for Safe Heater Use
- Plug the heater directly into a wall socket. Avoid extension cords and power strips, which can overheat with high-wattage appliances.
- Keep at least three feet (about one meter) of clear space around the heater. Keep it away from curtains, bedding, furniture, and paper.
- Place the heater on a flat, stable, hard surface and never on carpet, beds, or sofas.
- Never leave a heater running while you sleep or when nobody is home unless the manufacturer states it is designed for that.
- Keep children and pets away from the heater.
- Never use a portable heater to dry clothes or towels.
- Do not use a regular portable heater in a bathroom unless it is specifically rated for wet areas.
Frequently Asked Questions
Can I use water to clean my portable electric heater?
You can use a slightly damp cloth on the outer casing, but you should never pour or spray water on a heater, and you should never wet the heating element or the inside. Always unplug the heater first and let every part dry completely before use.
Can I use a vacuum cleaner on my heater?
Yes. A vacuum with a soft brush or crevice attachment is the best tool for removing dust from grilles and vents. Make sure the heater is unplugged and fully cool first.
Why does my heater smell like burning when I turn it on?
Most of the time, it is dust burning off the heating element after the heater has been stored or unused for a while. Clean the grille, then run the heater on low in a ventilated room. If the smell is strong, chemical, or comes with smoke, unplug it and have it inspected.
Do I need to open my heater to clean it?
Usually not. For most households, cleaning the grille, vents, and casing from the outside is enough. Opening the heater can void the warranty and is risky if you are not trained. If you think there is dust deep inside, contact the manufacturer or a qualified technician.
How do I clean a heater with a fan?
Vacuum the front and rear grilles, use a soft brush to loosen dust, and add short bursts of compressed air if needed. Avoid forcing the fan blades to spin by blowing air straight at them. Wipe the casing with a damp cloth and let it dry fully before use.
Is it safe to leave a dusty heater running?
It is better not to. A heater with heavy dust buildup can overheat, smell, and in the worst case start a fire. Switch it off, unplug it, and clean it before using it again.
Final Thoughts
Knowing how to clean a portable electric heater takes only a few minutes of effort, but it protects your home, saves electricity, and keeps your heater running well for years. Remember the key points: always unplug and let the heater cool, use a vacuum and soft brush for the grille, wipe the outside with a barely damp cloth, keep water away from the element, and let everything dry before plugging in.
Set a simple reminder to dust your heater every couple of weeks and give it a full clean at the start and end of every season. Your heater will warm your room faster, smell fresher, and stay safer all winter long.