Handy Heater Turbo Installation: Complete Step-by-Step Setup Guide
If you have just bought a compact plug-in heater, the first question is usually simple: how do I install it, and how do I use it safely? This complete guide to Handy Heater Turbo installation walks you through every step, from checking your outlet to choosing the right settings, placing the heater, and fixing common problems.
The good news is that a plug-in heater like this needs no tools, no wiring and no professional help. The not-so-obvious part is doing it the right way, because a heater that is placed or powered incorrectly can trip a breaker or become a fire risk. Read on and you will be up and running in a few minutes.
What Is the Handy Heater Turbo?
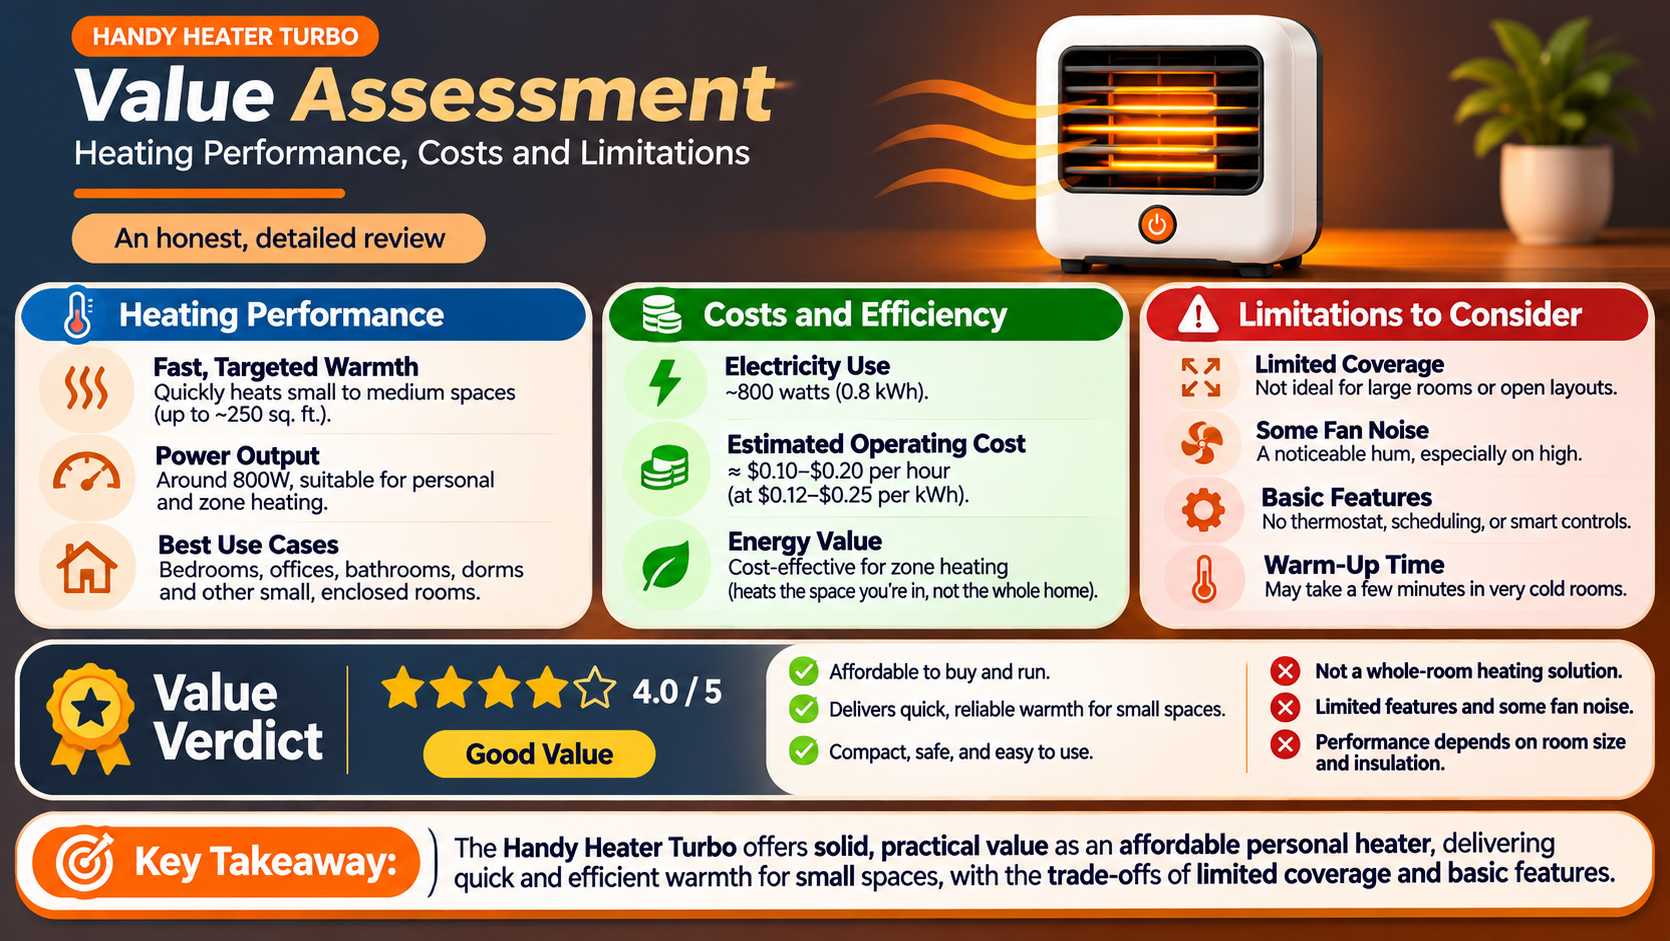
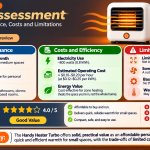
The Handy Heater Turbo is a small, portable, plug-in space heater designed for personal and small-room warmth. It plugs straight into a standard wall outlet and uses an electric heating element with a fan to push warm air into your immediate area. Because it is compact, people commonly use it in bedrooms, home offices, bathrooms (only if the manual allows it), dorm rooms and RV or garage corners.
It is meant as supplemental heat. It will not replace central heating, but it can take the chill off a desk, a bedside or a small room without heating the whole house.
Handy Heater Turbo Installation at a Glance
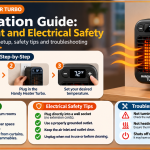
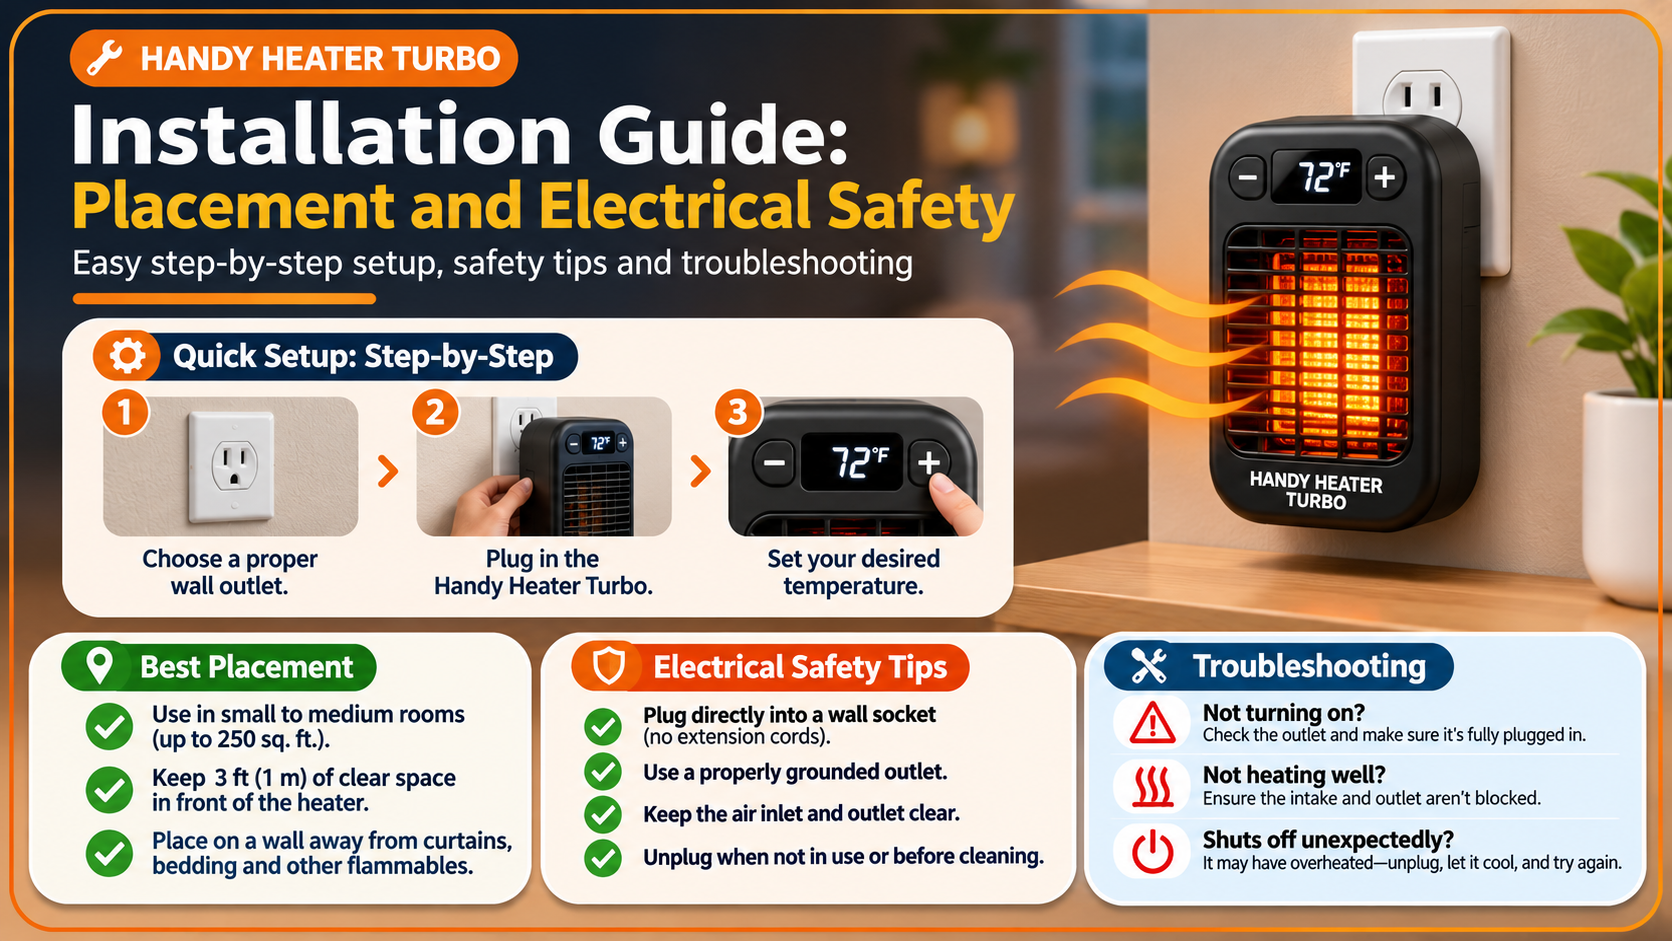
Here is the whole process in four steps. Details for each follow below.
Before You Begin: What You Need
- The heater and its user manual. Keep the manual; it lists the exact power rating and any model-specific warnings.
- A working wall outlet that matches the plug and voltage printed on the heater label.
- A clear, level space with nothing flammable nearby.
- A dry cloth for wiping the unit before first use.
No tools are required. There is nothing to mount, screw or wire. “Installation” simply means setting up and positioning the heater correctly.
Step-by-Step: How to Install and Set Up the Handy Heater Turbo
Step 1: Unbox and Inspect the Heater
Remove all packaging, including any plastic film, foam or cardboard around the grille. Check the unit for cracks, bent prongs or damage from shipping. If anything looks damaged, do not plug it in. Contact the seller for a replacement.
Step 2: Read the Label and Manual
Find the rating label on the heater. It shows the voltage and wattage. Confirm that your outlet and home electrical system match the voltage. This takes thirty seconds and prevents most electrical problems.
Step 3: Choose the Right Wall Outlet
This is the most important step in the whole installation:
- Use a wall outlet directly. Heaters draw a lot of current, so avoid extension cords, power strips and surge protectors unless the manual explicitly approves them.
- Pick an outlet in good condition. It should grip the plug firmly. A loose, warm, discolored or crackling outlet should be checked by an electrician before any heater is used.
- Avoid overloaded circuits. Do not run the heater on the same circuit as other high-power devices such as a microwave, kettle or hair dryer.
Step 4: Plug In Firmly and Check the Fit
Push the plug fully into the outlet so the unit sits flush against the wall plate. The heater should not wobble, tilt or hang loosely. If your outlet is on the floor, make sure the heater faces outward with its grille clear and unobstructed.
Step 5: Select Mode and Temperature
Turn the unit on and use the controls to choose a heating mode and target temperature. For the first run, start on a low or medium setting and stay in the room. A slight “new product” smell for the first few minutes is common as protective residues burn off. Open a window slightly for ventilation if you notice it. If the smell is strong, or smells like burning plastic, unplug the heater immediately.
Step 6: Position the Area Around the Heater
Keep at least 3 feet (about 1 meter) of open space around the heater, which is the standard guidance for most space heaters. Move curtains, bedding, clothing, paper, rugs and furniture out of that zone.
Safety Tips You Should Never Skip
- Never leave it unattended for long periods, and do not leave it running while you sleep unless the manual states it is designed for that and has proper safety features.
- Do not cover the heater or block the vents. Never dry clothes on or in front of it.
- Keep it away from water. Do not use it with wet hands, and only use it in a bathroom if the manufacturer says it is rated for that.
- Keep children and pets away. The grille and housing can become hot.
- Unplug when not in use. Always pull the plug by the body, not the cord.
- Check smoke detectors. Make sure the room has a working smoke alarm.
Best Places to Use a Plug-In Heater
- Home office or desk: warms your legs and hands during long work sessions.
- Small bedroom: useful for a quick warm-up before bed (turn it off before sleeping).
- Dorm room or small apartment: good for drafty corners.
- Garage, workshop or RV corner: handy for short, supervised use.
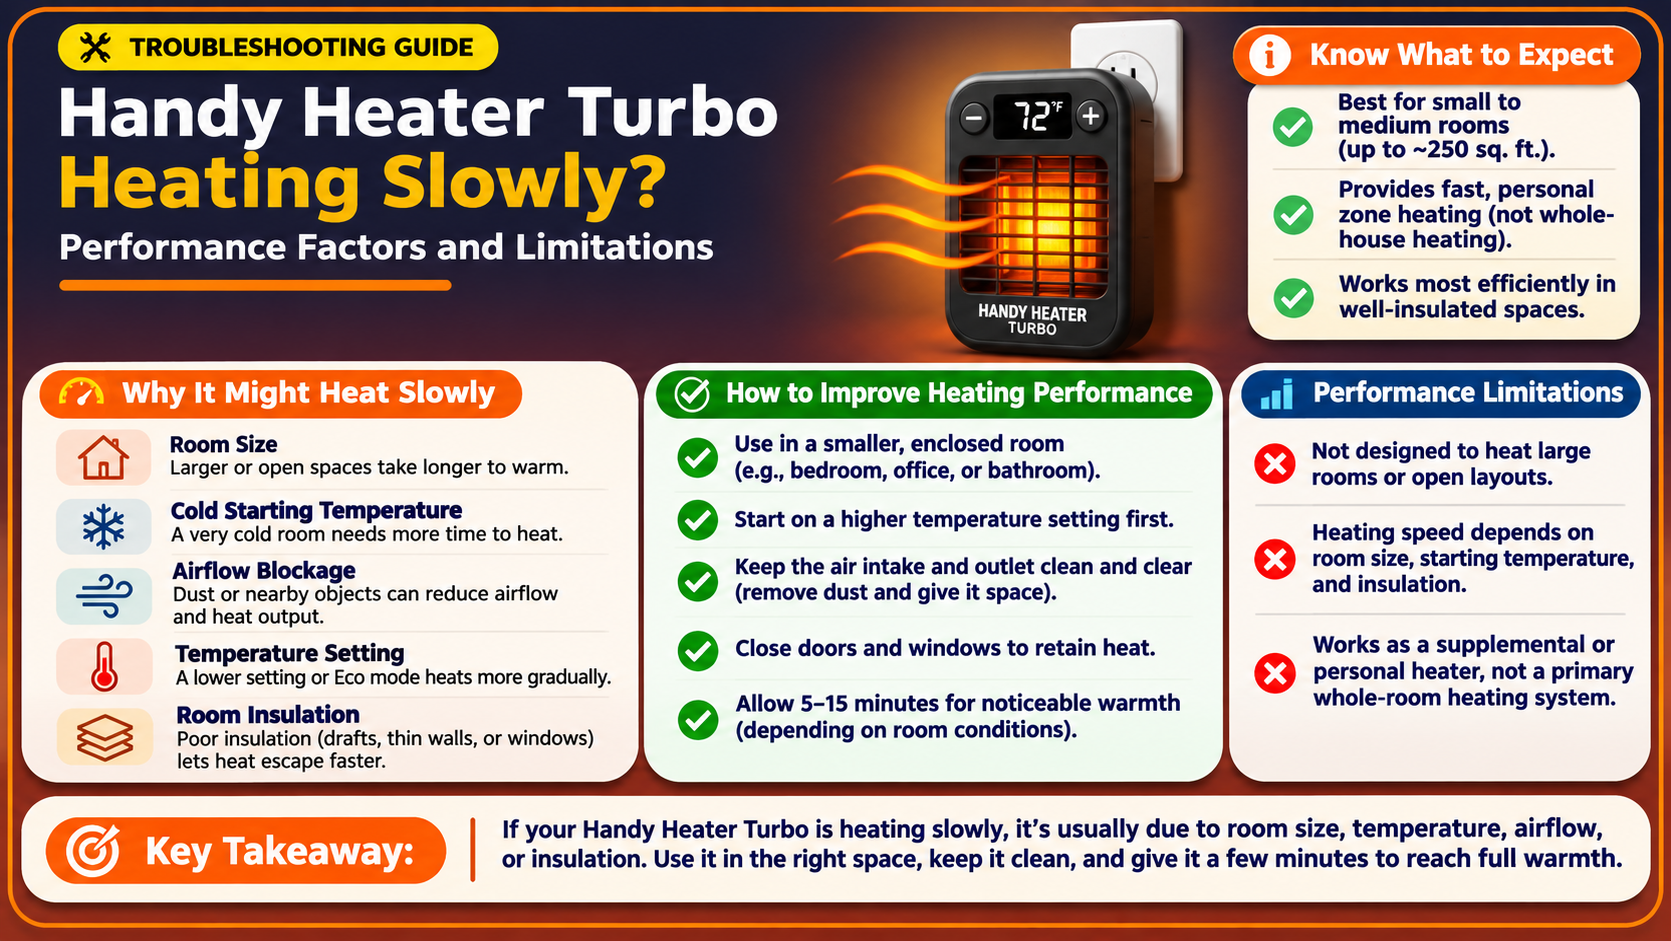
It works best in small, enclosed spaces. In a large, open or poorly insulated room, expect only a modest effect near the unit.
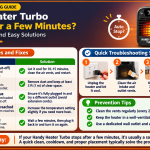
Troubleshooting Common Problems
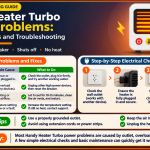
The heater does not turn on
Check that it is fully plugged in, test the outlet with another device, and check whether a breaker has tripped or a GFCI outlet needs to be reset. Make sure the power switch and any timer are set correctly.
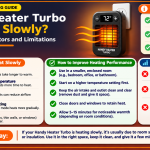
It turns on but does not feel warm
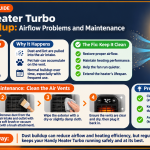
Raise the temperature setting and confirm the vents are not blocked. Remember that a small heater warms the air near it. In a big room you may feel little difference.
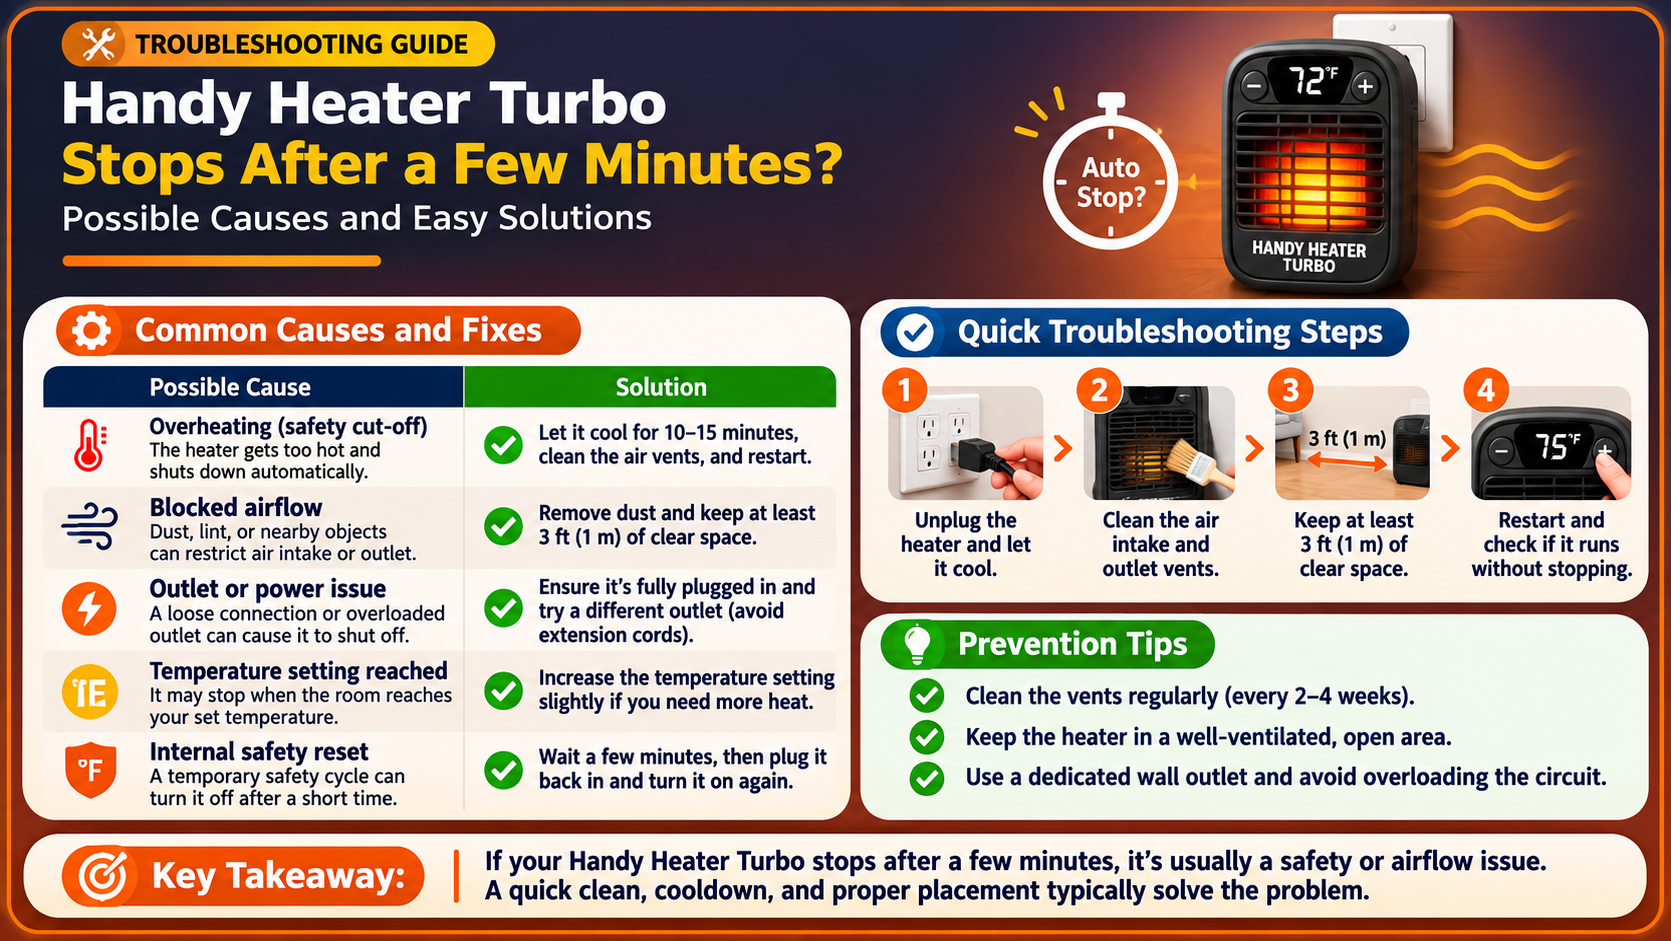
It shuts off by itself
Many heaters have overheat protection. Unplug it, let it cool, clear dust from the vents and check that nothing is blocking airflow. If it keeps happening, stop using it and contact support.
The breaker keeps tripping
The circuit may be overloaded. Unplug other devices on the same circuit, or try another outlet on a different circuit. If it still trips, do not keep resetting it; have an electrician check the wiring.
Strange smell or noise
A faint smell on first use is normal. A persistent burning smell, buzzing, sparks or a hot plug means you should unplug it immediately and stop using it.
Cleaning and Maintenance
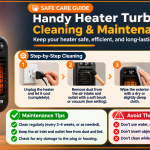
- Unplug and let the heater cool completely before cleaning.
- Wipe the exterior with a dry or slightly damp cloth. Never spray liquid on it or submerge it.
- Remove dust from the vents with a soft brush or a vacuum on a low setting.
- Inspect the plug and cord regularly. Stop using it if you see damage.
- Store it in a dry place away from dust and moisture at the end of the season.
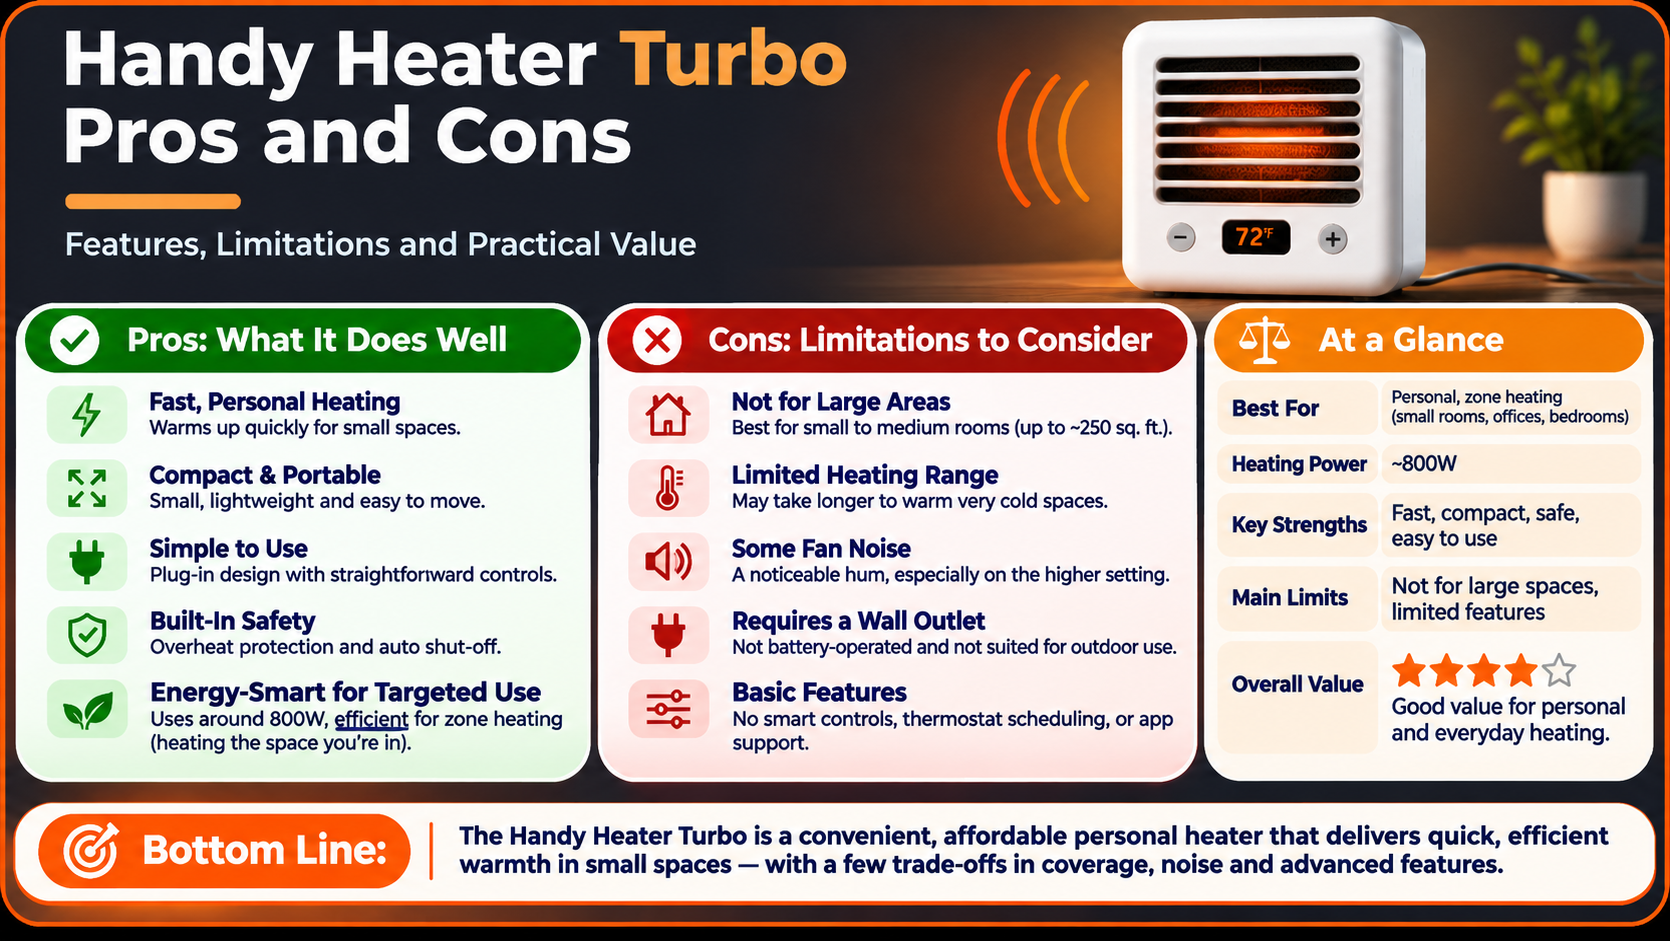
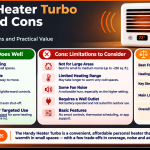
Pros and Cons
| Pros | Cons |
|---|---|
| Compact and lightweight | Best for small areas only |
| Very easy setup, no tools | Must be plugged directly into the wall |
| Quick, targeted warmth | Not a replacement for central heating |
| Portable between rooms | Needs supervision and clearance for safety |
Who Should Buy It?
This type of heater suits people who want spot heating: remote workers, students, renters and anyone with a chilly corner. If you need to heat a large living room or an entire floor, you will be better served by a larger heater or by improving your insulation.
Frequently Asked Questions
Does the Handy Heater Turbo need professional installation?
No. It plugs into a standard wall outlet, so there is no wiring or mounting. Just follow the setup steps above.
Can I use it with an extension cord?
It is best to avoid this. Heaters draw high current and many extension cords and power strips can overheat. Plug it directly into the wall unless the manual states otherwise.
How long should I run it?
Use it only as long as you need it and stay in the room. Turn it off or unplug it when you leave or go to sleep.
How much space can it heat?
It is designed for personal use and small rooms. Results depend on room size, insulation and outside temperature.
Will it raise my electricity bill?
Any electric heater adds to your usage while running. Using it only when needed, and heating just the area you occupy, helps keep costs reasonable.
Final Thoughts
Handy Heater Turbo installation is quick and beginner-friendly: inspect the unit, pick a good wall outlet, plug it in directly, start on a low setting and keep a safe distance around it. Follow the safety rules, keep it clean and it can give you convenient, targeted warmth through the cold season. Always rely on your product manual for model-specific instructions and warnings.
Disclosure: This article may contain affiliate content. We may earn a commission at no extra cost to you if you purchase through our recommendations. This guide is for general information and does not replace the manufacturer’s manual.